
OpenVAS / Greenbone Vulnerability Management (GVM) / Greenbone Source Edition on AWS
How to run OpenVAS / Greenbone Vulnerability Management via AWS
Status: As at 26 Feb 2020 - tested and running and now mostly documented so others can do this as well
Status: As of June 2020 - with upgrade of OpenVAS 9 to GVM-11 the simple Ubuntu install is broken.
Status: As of Jan 2021 - Recommendation is to built on AWS from Source (see section on "GSM 20.08 on Ubuntu 20.04 on AWS")
Status: As of Apr 2023 - Simplest way to get GVM up and running on AWS is by creating a Kali Linux VM (either directly or via Debian 11 base install) and then doing apt binary install
NOTE: As of OpenVAS 10, OpenVAS is now know as Greenbone Vulnerability Management (GVM). I have updated this tip to reflect GVM update.
OpenVAS / GVM is a very useful Open Source security scanning tool.
Running a security scan on your network is strongly recommended, however if you are running scanner on your internal network, then the scan results may not reflect the situation of how your network looks to the "outside world".
To do this you should run your scanner from a machine that is accessing your network from the public internet, as this is a key attack path. A simple way to do this is to spin up a scanner instance in AWS or other public cloud and then run your scan from there. This is relatively easy to do and you can even use free Ubuntu EC2 machine to achieve this at low cost.
For running OpenVAS on QEMU / KVM, see here for my tip on running the OpenVAS on QEMU / KVM using the "Greenbone Networks" VM applicance.
GVM 22.4 with Kali Linux on AWS
Doing a Linux Source install of GVM is prone to failure and you always have to spend a lot of time searching through log and the community forum finding to source of problem. An alternative is to do a binary install using AWS Marketplace Kali Linux install as the base.
The Kali Linux AWS VM has a support cost, but it can run on a "Micro T2" machine and is much simpler and faster to setup then using source install.
See "Alternate GVM 22.4 with Debian 11 on AWS" for way get GVM via standard AWS Debian 11 install.
The AWS process is to:
- Create EC2 VM
- Select Image via Market Place - this will require accepting the Kali Linux support agreement
- Once back at EC2 instance configuration downsize VM to "Micro T2" (I would not recommend as I found this hung during feed loading) if you don't want to use the default "T2 Medium" VM
- Start up VM and just install GVM via apt as per KVM/QEMU guidance
Once you have the GVM installed you will need to change the gsad.service configuration to it expose web interface (or add allow rule on your AWS security configuration for default gsad port - 9392 & change the --listen port to "0.0.0.0"). The service configuration is in: "/lib/systemd/system/gsad.service" and the line to look for and change is: "ExecStart=/usr/sbin/gsad --foreground --listen 0.0.0.0 --port 443". This will mean that the UI is avialable on all interfaces and uses the standard https port (443). Restart the service once you make the change: "systemctl daemon-reload" and "systemctl restart gsad.service".
I was not able to get "Micro T2" working as system, so I upgraded to "Medium T2" and also increase disk from 15GB to 40GB.
Testing with local KVM/QEMU Kali "headless" install results in around 19G install before you run any scan, so need have an HDD with at least around 28GB ext4 partition to be just acceptable.
Alternate GVM 22.4 with Debian 11 on AWS
An alternate way to get (Kali package) GVM running on Debian 11 is to add Kali repository to standard AWS Debian release and then do apt update/upgrade/dist-upgrade followed by reboot gvm package install.
I tested the flip process using the following script, which results in success flip of standard AWS Debian 11 VM:
apt update
apt -y install wget gnupg dirmngr
wget -q -O - https://archive.kali.org/archive-key.asc | gpg --import
gpg --keyserver hkp://keys.gnupg.net --recv-key 44C6513A8E4FB3D30875F758ED444FF07D8D0BF6
echo "deb http://http.kali.org/kali kali-rolling main non-free contrib" >> /etc/apt/sources.list
gpg -a --export ED444FF07D8D0BF6 | sudo apt-key add -
apt update
apt -y upgrade
apt -y dist-upgrade
apt -y autoremove --purge
---
--- Note: once you have done this you can choose your preferred Kali Metapackage install:
---   for AWS I suggest: apt install kali-linux-headless
---
Before rebooting ensure that ssh is enabled: "systemctl enable ssh" or you will lose access to your VM.
Once you have Debian updated you can proceed as per "Kali Linux on AWS" above.
I have got "T2 Medium" install going with 28G HDD.
NOTE: I did search for "add kali repo to debian 11" and found this info as well as script above: https://superuser.com/questions/1644520/apt-get-update-issue-in-kali
GVM 20.08 on Ubuntu 20.04 on AWS
OpenVAS 9, which is no longer supported and the "simple" Ubuntu install for GVM-11 never worked correctly and in any case is now obselete as current version is now GVM 20.08 (reflects August 2020 as new release naming convention).
You can get a GVM 20.08 build up and running on AWS on Ubuntu 20.04 using source build.
Be aware that to build on AWS you will need a AWS host with more than the 1GB RAM that is provided by the "free tier" AWS Ubuntu 20.04 "Micro T2" machine.
I have done testing of build process and the "Micro T2" VM goes into virtual memory swap thrashing when building the "gsa" component. This occurs doing the node/yarn build process and I have observed this by running "top" during the build process. I tried to work around this by changing the "vm.swappiness" configuration from default 60% to 80% but VM still goes into swap thrashing.
If you set up an "medium T2" VM with:
- 2 CPUs and
- 4GB RAM with
- Security setup to allow: ssh (port 22), http (port 80) and https (port 443) access.
Then you can successfully build an GVM 20.08 instance from source on AWS.
I did this via instructions from:
- Mike Lab Instructions - https://www.mikeslab.net/install-greenbone-vulnerability-manager-20-08-on-ubuntu-20-04/ &
- Kevin Lucas Script - on github
Beware that the script enables Linux firewall (ufw) as part of its setup and fails to completes the data sync correctly as part of build on Ubuntu 20.04 and so you will need to re-run data load. Both these issues have been documented and can be worked around.
I have validated the the instructions from Mike Lab blog: https://www.mikeslab.net/install-greenbone-vulnerability-manager-20-08-on-ubuntu-20-04/ and Kevin Lucus's script on github.
I will not repeat the instructions here as you are better just using either of these instructions yourself.
The build will make a machine that is accessible via https via AWS public IP of your VM.
OpenVAS 9 on Ubuntu on AWS
NOTE: OpenVAS 9 is no longer supported and project has been renamed to "Greenbone Vulnerability Management" (GVM) with GVM-11 the new stable release. Instructions require update to new version.
- If you have not already done so, setup an AWS account: https://aws.amazon.com
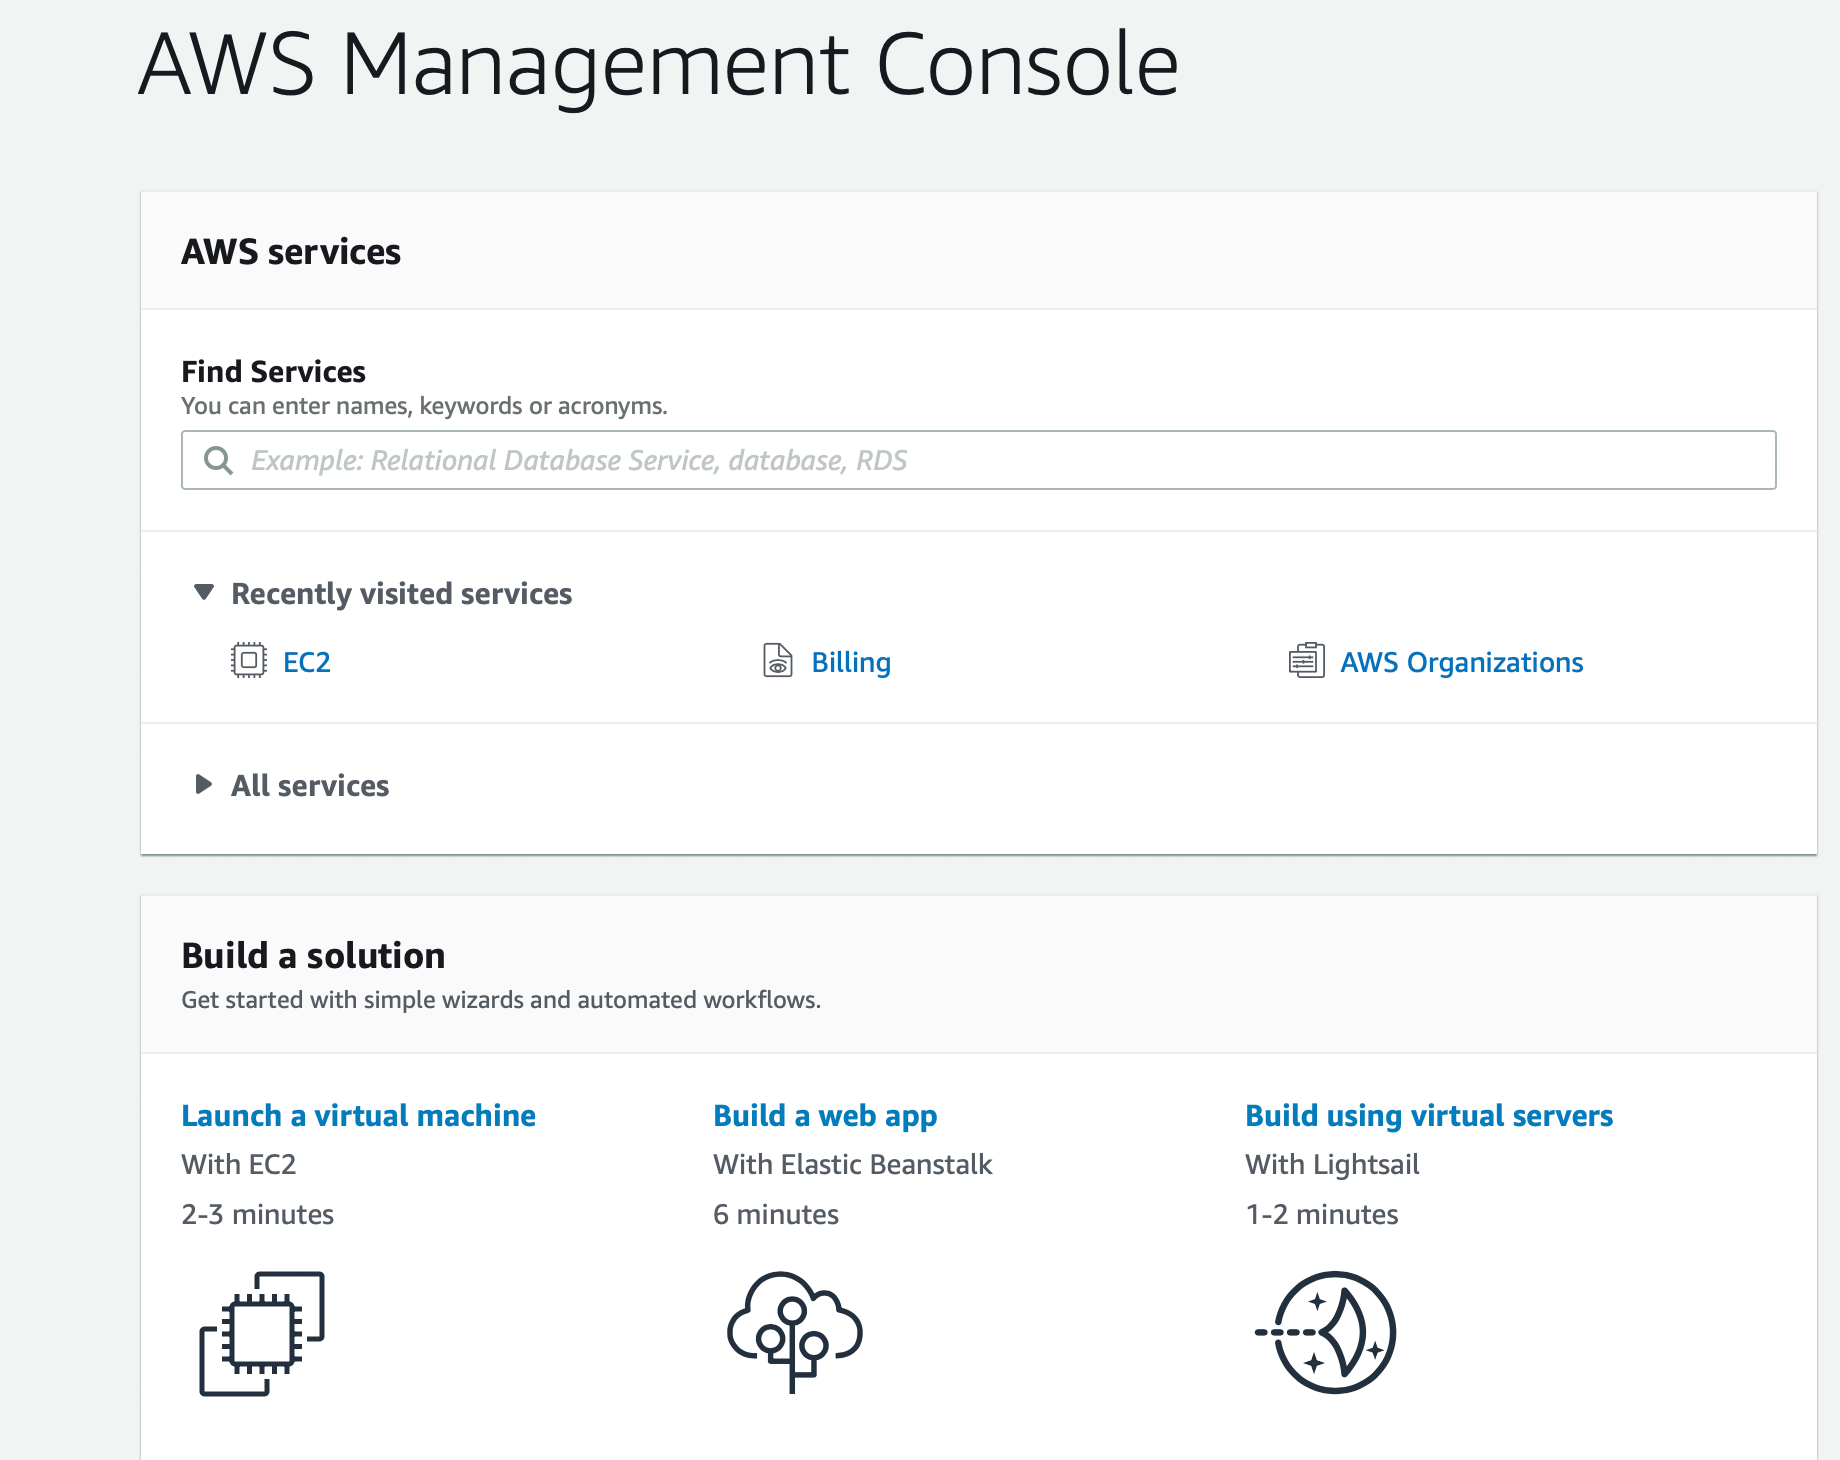
- Using AWS Management Console, create a new EC2 VM
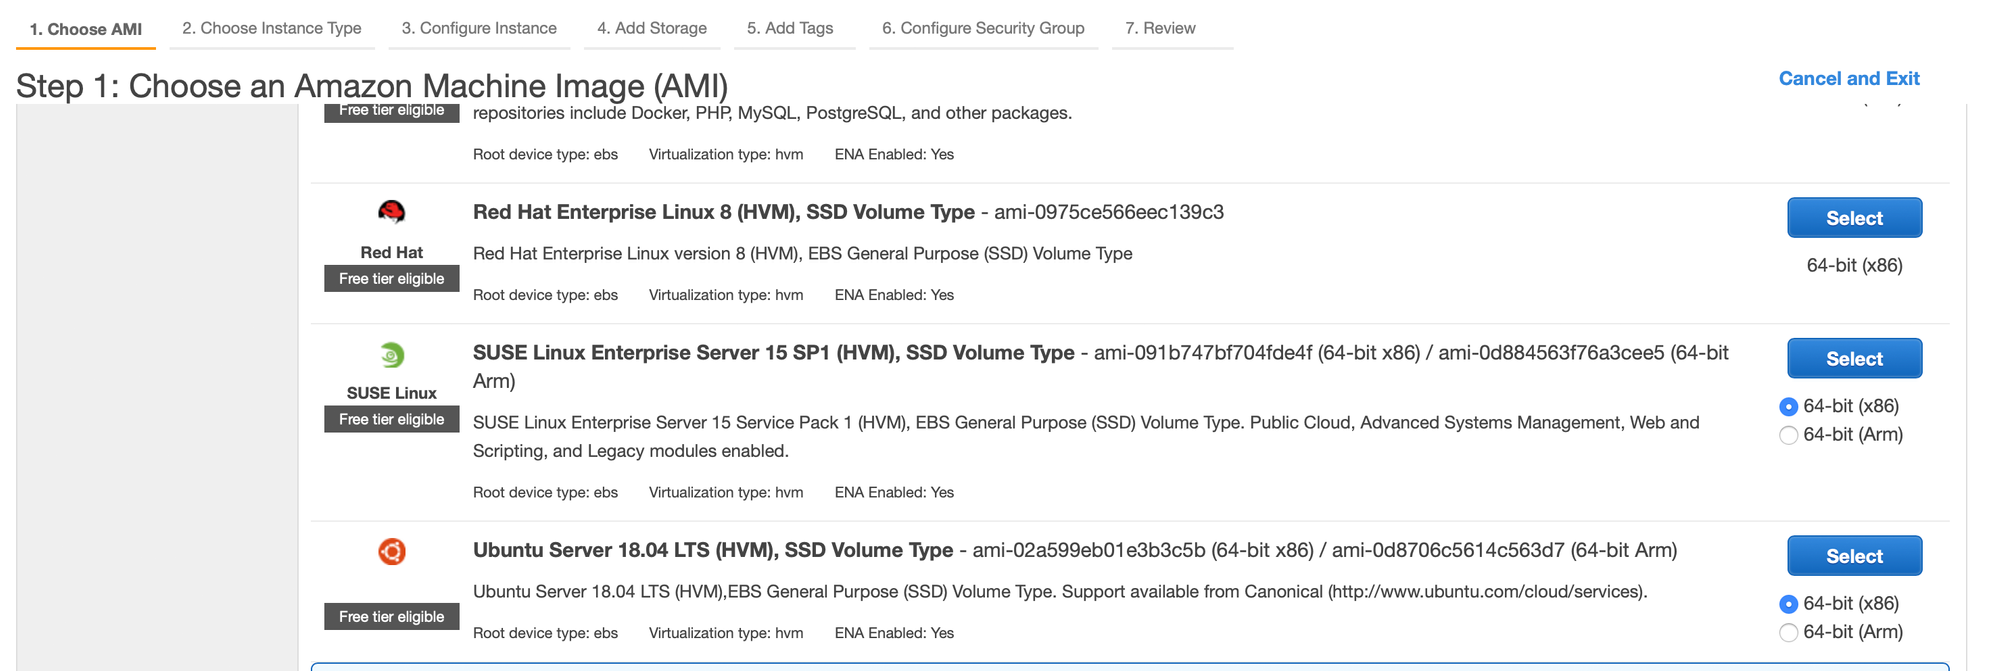
3. Setup an Ubuntu Server 18.04 64-bit (x86) VM
NOTE: Free Tier is sufficient to run a scanner, as long is you accept that it is slow
4. Using EC2 console, configure your VM firewall security and download your ssh key
For Firewall rules you should configure these so you can get acces to the following ports:
- 22 - ssh / sftp
- 80 / 443 - http / https
- 4000 - port for OpenVAS Web URL
The source access addresses will be based on your particular IP address ranges and security concerns.
5. Login to your VM:
$ ssh -i "aws-YOUR-key-01.pem" ubuntu@ec2-YOUR_VM.compute.amazonaws.com
...
Usual Ubuntu Greetings...
...


$ uname -a
Linux ip-172-31-9-160 4.15.0-1060-aws #62-Ubuntu SMP Tue Feb 11 21:23:22 UTC 2020 x86_64 x86_64 x86_64 GNU/Linux
$ cat /etc/*-release
DISTRIB_ID=Ubuntu
DISTRIB_RELEASE=18.04
DISTRIB_CODENAME=bionic
DISTRIB_DESCRIPTION="Ubuntu 18.04.3 LTS"
NAME="Ubuntu"
VERSION="18.04.3 LTS (Bionic Beaver)"
ID=ubuntu
ID_LIKE=debian
PRETTY_NAME="Ubuntu 18.04.3 LTS"
VERSION_ID="18.04"
HOME_URL="https://www.ubuntu.com/"
SUPPORT_URL="https://help.ubuntu.com/"
BUG_REPORT_URL="https://bugs.launchpad.net/ubuntu/"
PRIVACY_POLICY_URL="https://www.ubuntu.com/legal/terms-and-policies/privacy-policy"
VERSION_CODENAME=bionic
UBUNTU_CODENAME=bionic
6. Now install OpenVAS
To make this a bit more repeatable, I have put what is needed into shell script
$ cat install.sh
#/bin/sh
sudo add-apt-repository ppa:mrazavi/openvas
sudo update
sudo apt update
sudo apt upgrade
sudo apt install sqlite3
sudo apt install openvas9
sudo apt install libopenvas9-dev
sudo greenbone-nvt-sync
sudo greenbone-scapdata-sync
sudo greenbone-certdata-sync
sudo systemctl enable openvas-scanner
sudo systemctl enable openvas-manager
sudo systemctl enable openvas-gsa
sudo systemctl start openvas-scanner
sudo systemctl start openvas-manager
sudo systemctl start openvas-gsa
sudo openvasmd --rebuild --progress
7. Connect via Web to your OpenVAS machine...
This should be availabe via the machine, AWS Address and port 4000
ie: https://ec2-YOUR_VM.compute.amazonaws.com:4000
You can now configure your scans and run them
So happy scanning....
Trouble Shooting and Operating
Here are some common operating issues...
User Administration
Use the openvasmd (OpenVAS) Manager Daemon to administor users and passwords.
$ openvasmd --help
Usage:
openvasmd [OPTION…] - Manager of the Open Vulnerability Assessment System
Help Options:
-h, --help Show help options
Application Options:
--backup Backup the database.
--check-alerts Check SecInfo alerts.
--client-watch-interval= Check if client connection was closed every seconds. 0 to disable. Defaults to 1 seconds.
-d, --database= Use as database for SQLite/Postgres.
--disable-cmds= Disable comma-separated .
--disable-encrypted-credentials Do not encrypt or decrypt credentials.
--disable-password-policy Do not restrict passwords to the policy.
--disable-scheduling Disable task scheduling.
--create-user= Create admin user and exit.
--delete-user= Delete user and exit.
--get-users List users and exit.
--create-scanner= Create global scanner and exit.
--modify-scanner= Modify scanner and exit.
--scanner-name= Name for --modify-scanner.
--scanner-host= Scanner host for --create-scanner and --modify-scanner. Default is /var/run/openvassd.sock.
--otp-scanner= Path to scanner unix socket file. Used by --rebuild and --update
--scanner-port= Scanner port for --create-scanner and --modify-scanner. Default is 9391.
--scanner-type= Scanner type for --create-scanner and --mdoify-scanner. Either 'OpenVAS' or 'OSP'.
--scanner-ca-pub= Scanner CA Certificate path for --[create|modify]-scanner.
--scanner-key-pub= Scanner Certificate path for --[create|modify]-scanner.
--scanner-key-priv= Scanner private key path for --[create|modify]-scanner.
--verify-scanner= Verify scanner and exit.
--delete-scanner= Delete scanner and exit.
--get-scanners List scanners and exit.
--schedule-timeout= After installing OpenVAS there should be a single OpenVAS user defined (admin)
$ sudo openvasmd --get-users
admin

... now to update password

$ sudo openvasmd --user=admin --new-password=YOUR_PASSWORD
Web Connect Error
On doing web connect you get:
The request contained an unknown or invalid Host header. If you are trying to access GSA via its hostname or a proxy, make sure GSA is set up to allow it.This is likely a result of having stopped your VM and then restarted it. If you are using a VM without a persistent URL (this is paid for feature), then the AWS URL address changes on stopping and re-starting the VM.
To address this problem you need to edit: vi /etc/default/openvas-gsa
This has a configuration for the valid access URL address header: "ALLOW_HEADER_HOST" .
Simply update this to current valid AWS DNS name and reboot machine:
$ sudo vi /etc/default/openvas-gsa
$ sudo reboot
Out of Disk Space
If you are using a free tier AWS VM then you will run out of disk space, due to historical reports and so cannot run scans.
Simply go into the Web Admin interface and purge old reports
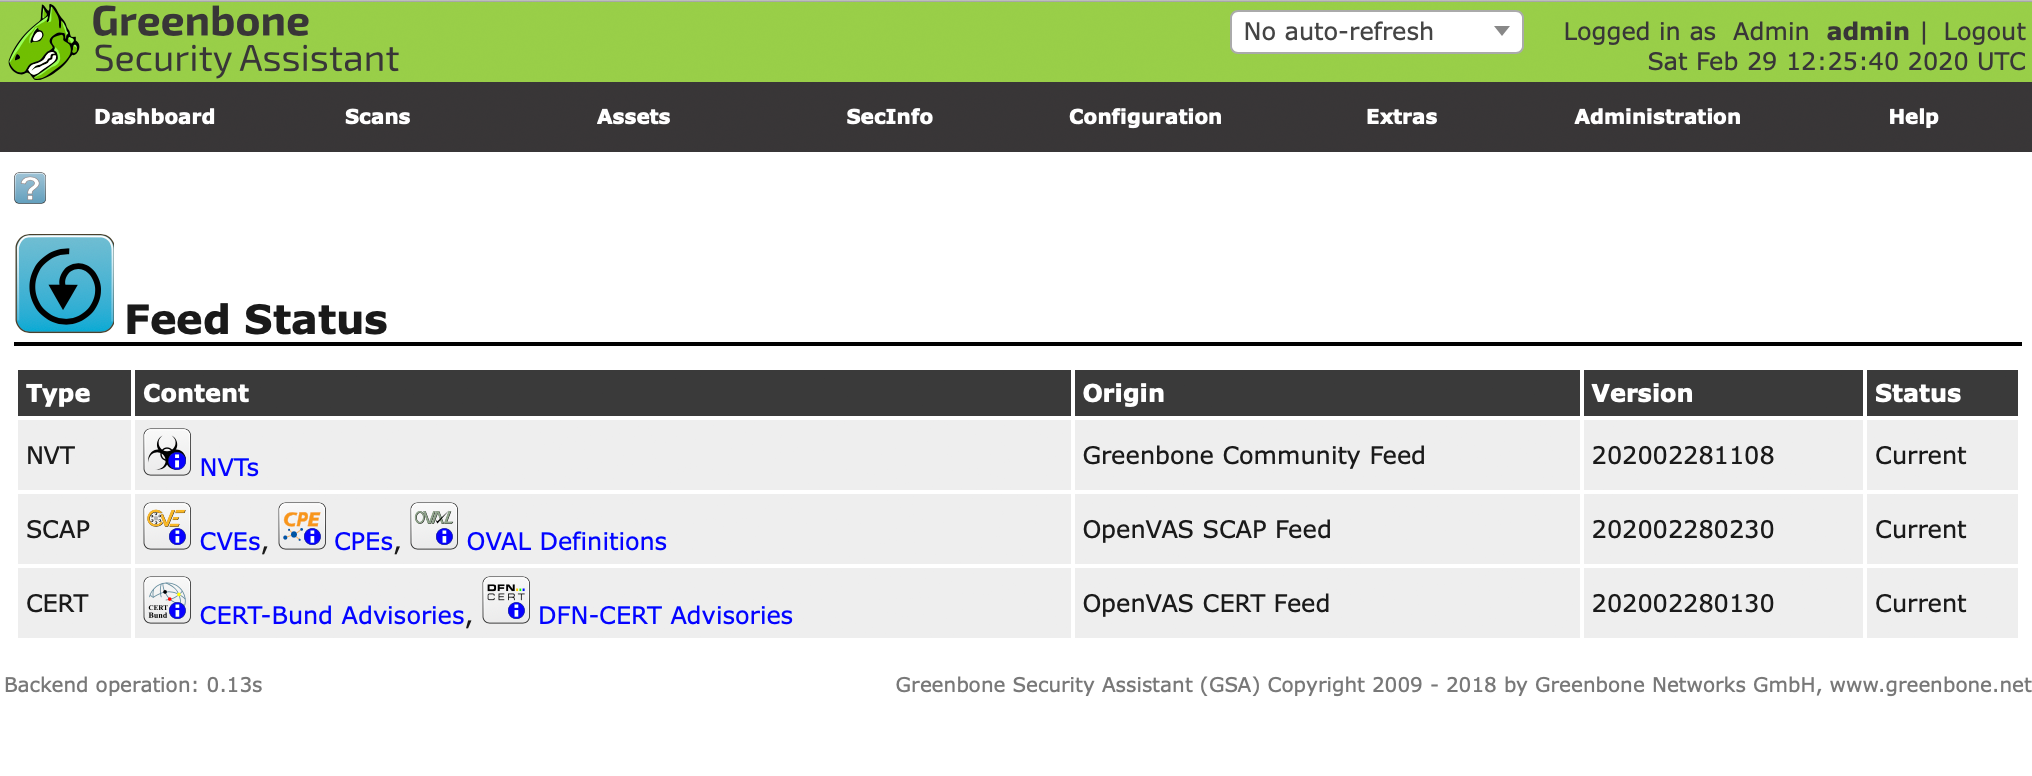
Feed Refresh
OpenVAS need to keeps its security advisory database up to date and so you need to periodically refresh the database.
This will require you to ssh into the VM to trigger update & rebuild...
$ sudo greenbone-nvt-sync
$ sudo greenbone-scapdata-sync
$ sudo greenbone-certdata-sync
$ sudo openvasmd --rebuild --progress

...
Then on completion do reboot
...

$ sudo reboot
And we are current:
NOTE: If you have issues getting feed update then check "Web Connect Error" note above, as this will also affect feed connection.
References & Links:
Running OpenVAS (GCE) Appliance on KVM / QEMU - my prior post on running OpenVAS via Greenbone Network VM Appliance
OpenVAS - a very valuable Open Source security scanner
AWS - Amazon Web Services is your toolkit of useful cloud computing
OpenVAS vulnerability scanner - Ubuntu PPA by Mohammad Razavi, follow link up and you will also find Docker image version as well
GVM Source Install on Ubuntu 20.04 - see the following instructions on Mikes Lab blog
GVM Source Install Script - here is Ubuntu 20.04 install script from github. I have only done initial testing on this it works on with exception of need to disable ufw and reload the data
Greenbone Source Edition - when all else fails revert to source -;
Debian 11 to Kali - Add Kali Repo to standard AWS Debian AMI